'use client'
import { useState } from "react";
export default function Home() {
const [emailData, setEmailData] = useState({
to: "",
subject: "",
message: "",
})
const sendEmail = async (e) => {
e.preventDefault();
console.log(emailData);
try {
const res = await fetch("/api/send-email", {
method: "POST",
headers: {
"Content-Type": "application/json"
},
body: JSON.stringify(emailData)
})
if (res.status === 200) {
alert('Sent!');
} else {
alert('Failed');
}
} catch (e) {
console.error(e);
}
}
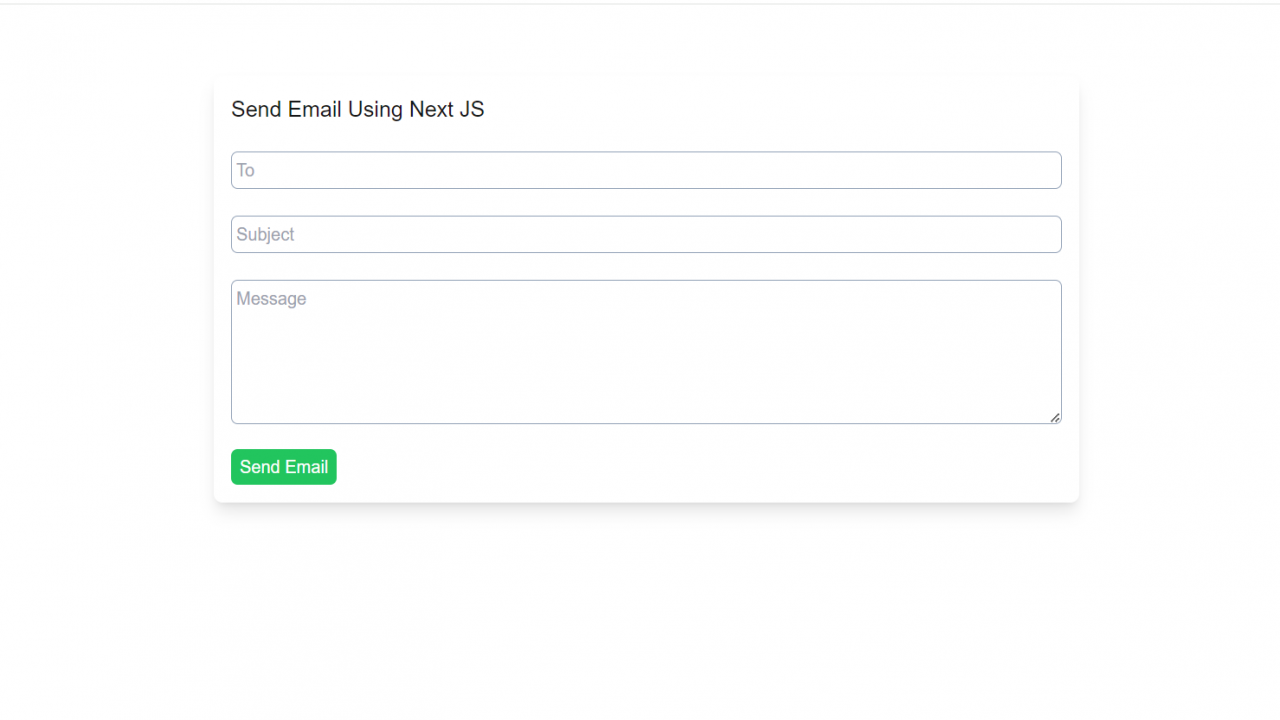
return (
<div className="flex justify-center">
<div className="max-w-[60vw] mt-16 p-4 shadow-lg rounded-lg">
<h1 className="text-xl">Send Email Using Next JS</h1>
<form onSubmit={sendEmail}>
<div className="mt-6 mb-4">
<input
type="text"
value={emailData.to}
onChange={(e) => setEmailData({ ...emailData, to: e.target.value })}
className="border border-slate-400 rounded-md p-1 min-w-[50vw]"
placeholder="To"
/>
</div>
<div className="mt-6 mb-4">
<input
type="text"
value={emailData.subject}
onChange={(e) => setEmailData({ ...emailData, subject: e.target.value })}
className="border border-slate-400 rounded-md p-1 min-w-[50vw]"
placeholder="Subject"
/>
</div>
<div className="mt-6 mb-4">
<textarea
rows={5}
type="text"
value={emailData.message}
onChange={(e) => setEmailData({ ...emailData, message: e.target.value })}
className="border border-slate-400 rounded-md p-1 min-w-[50vw]"
placeholder="Message"
/>
</div>
<div>
<button
type="submit"
className="bg-green-500 p-1 px-2 text-white rounded-md hover:bg-green-700">
Send Email
</button>
</div>
</form>
</div>
</div>
);
}
STEP 2:
Update route.js file under app -> api- > send-email -> route.js
import nodemailer from 'nodemailer';
export async function POST(request) {
const { to, subject, message } = await request.json();
const transporter = nodemailer.createTransport({
host: process.env.SMTP_HOST,
port: process.env.SMTP_PORT,
auth: {
user: process.env.SMTP_USER,
pass: process.env.SMTP_PASSWORD,
},
secure: true
})
const mailOptions = {
to: [to],
from: process.env.SMTP_USER,
subject: subject,
html: `
<p>
${message}
</p>
`
}
await transporter.sendMail(mailOptions);
return new Response(JSON.stringify({ message: 'Mail Sent!' }, { status: 200 }))
}